
Choosing the Right Drywall Joint Tape for Long-Term Crack Resistance
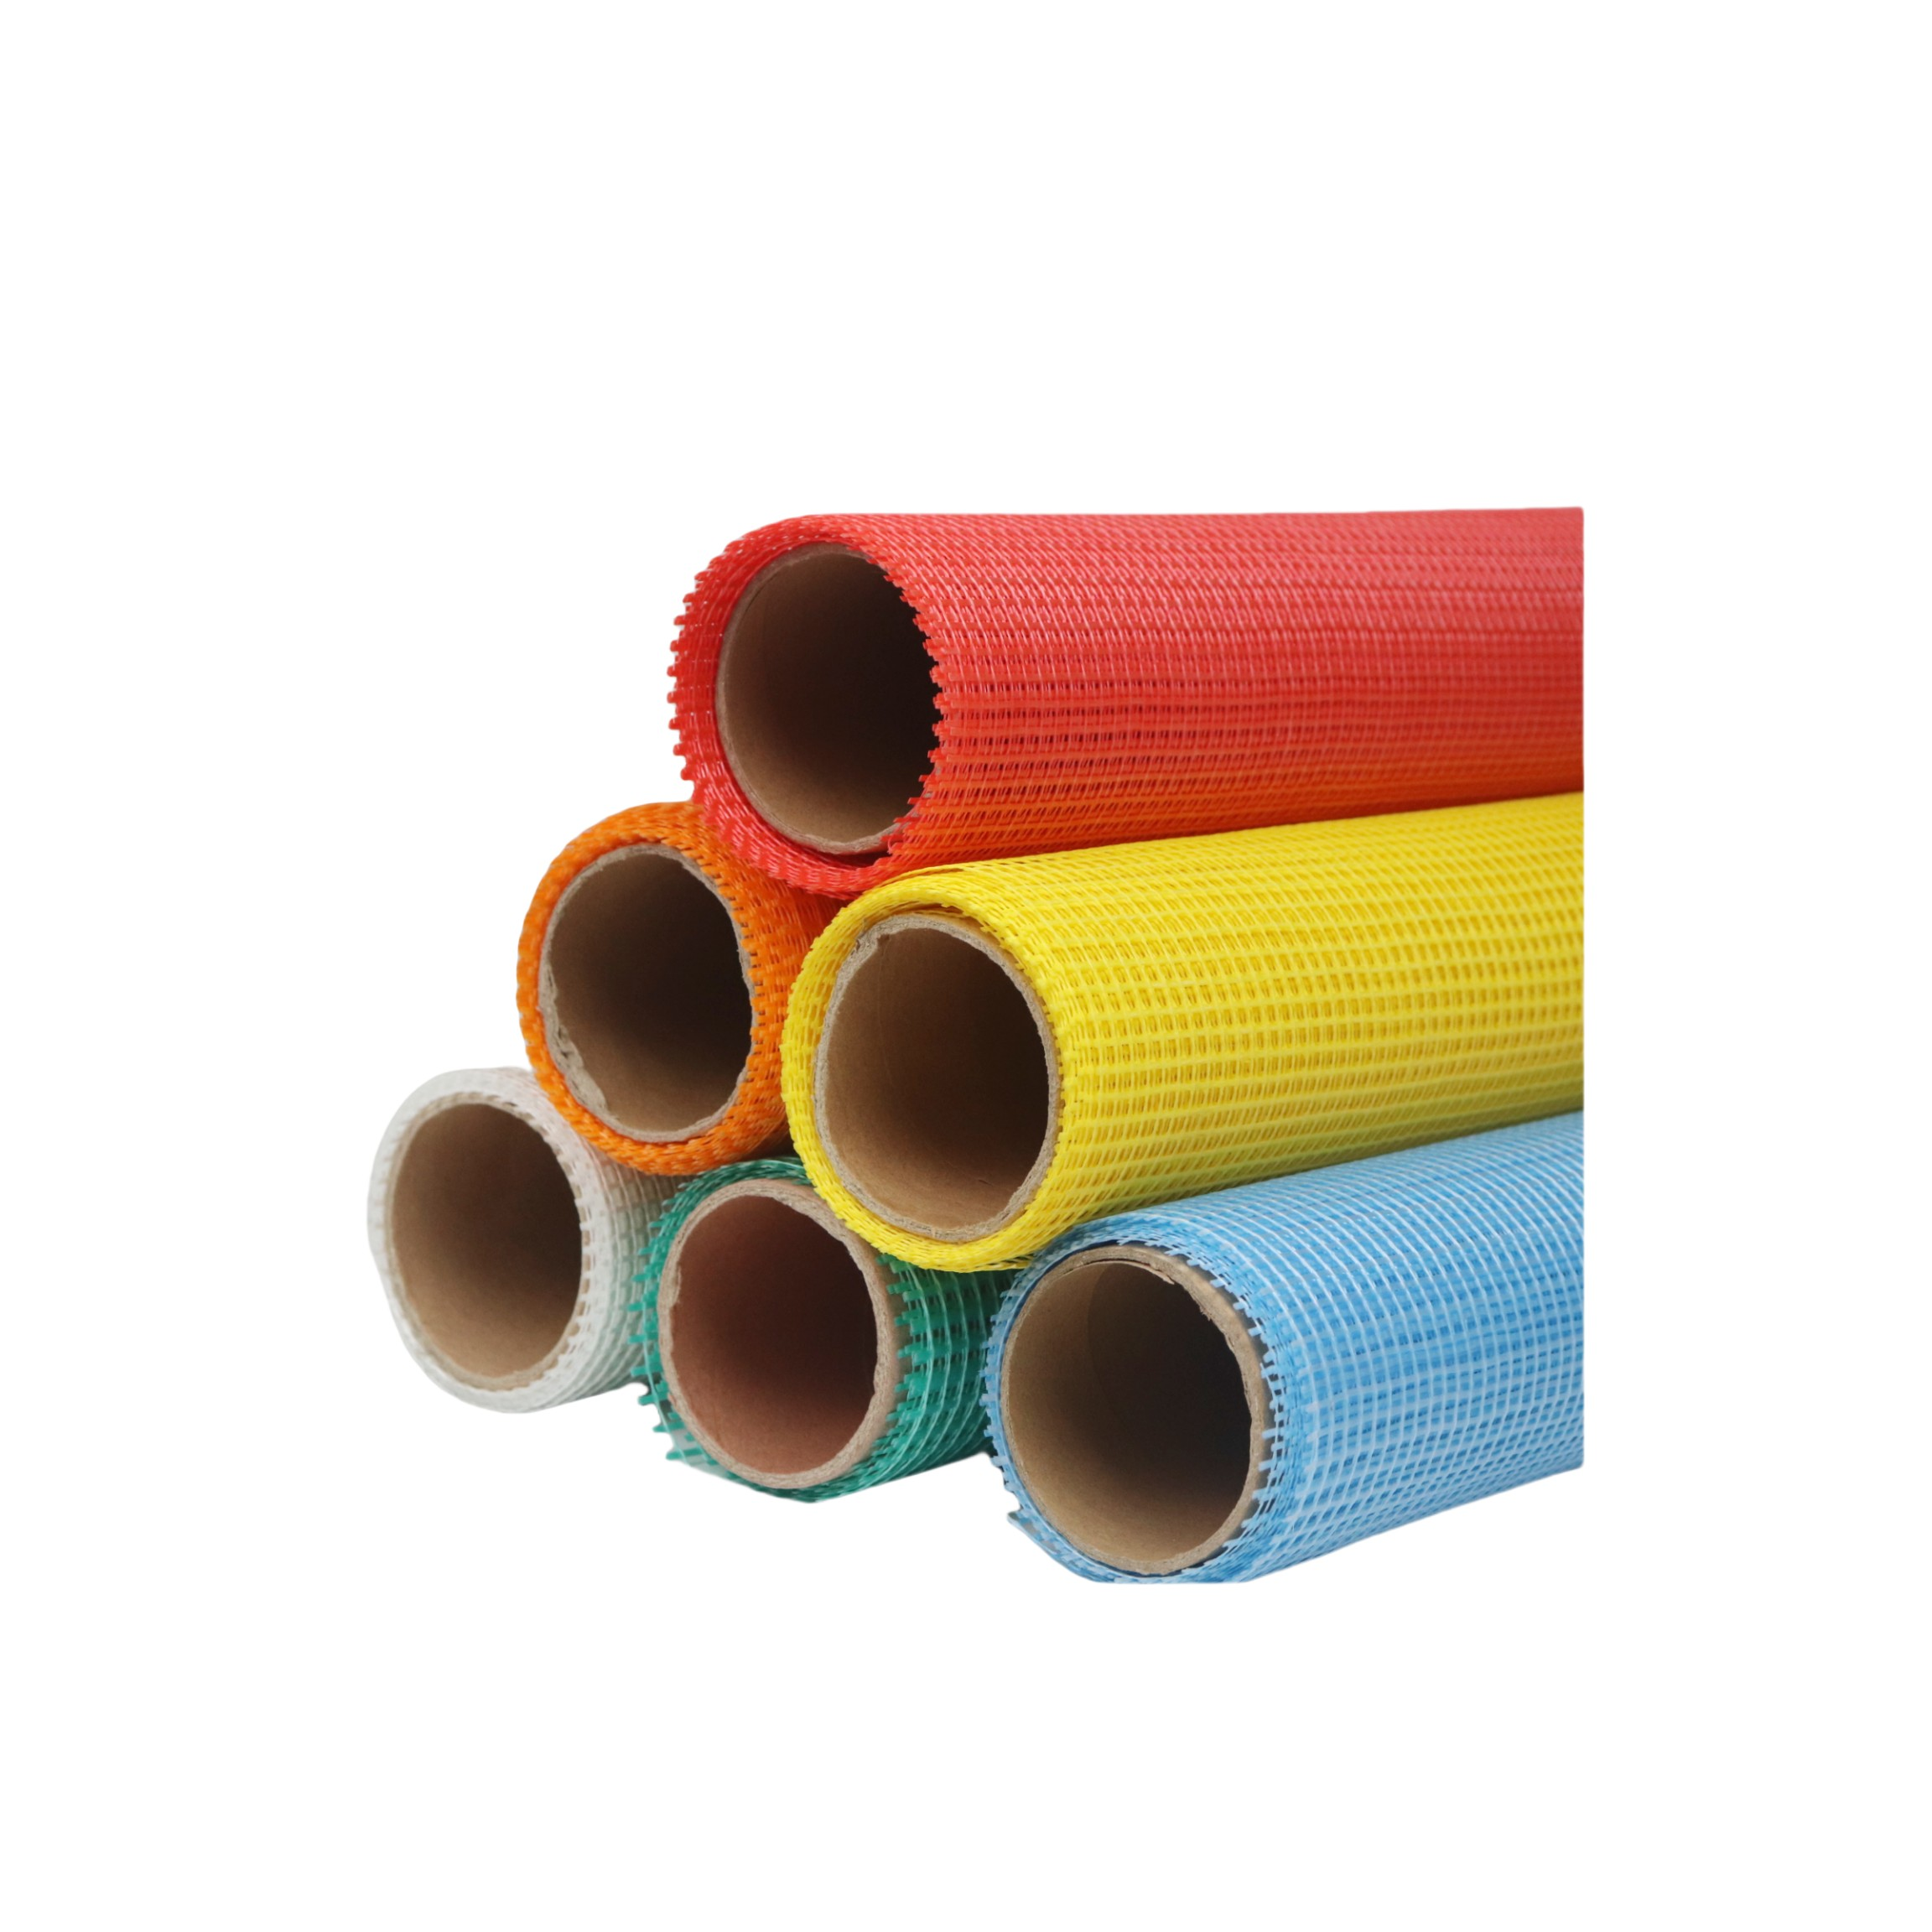
Paper vs. Mesh Tape: Bond Strength, Flexibility, and Substrate Compatibility
Paper tape delivers superior bond strength when fully embedded in joint compound, creating monolithic seams ideal for high-stress areas like ceilings. Its cellulose fibers interlock with the mud, achieving 30% greater shear resistance than standard fiberglass mesh, per drywall adhesion studies. However, paper requires precise application and offers minimal flexibility. Fiberglass mesh tape provides inherent crack-bridging properties due to its woven structure, accommodating minor substrate shifts more effectively. While its self-adhesive backing enables instant grab—eliminating wet-bedding steps—its lower surface area reduces ultimate tensile strength by 15–20%. For moisture-prone zones like bathrooms, alkali-resistant fiberglass mesh prevents degradation in high-pH joint compounds. Paper remains optimal for traditional flat seams in stable environments; mesh excels in repairs or over uneven substrates.
When to Use Self-Adhesive, Fiberglass Mesh, or Specialty Drywall Joint Tape
Choose self-adhesive fiberglass mesh for small repairs or curved surfaces where speed and conformability matter. Standard fiberglass mesh is well-suited for most new installations in low-movement areas, offering reliable crack resistance at minimal cost. For high-shear zones—such as wall-ceiling junctions—reinforced paper tape with polymer strands delivers 40% greater flexural strength than basic paper. In fire-rated assemblies, UL-certified paper tapes maintain structural integrity at temperatures exceeding 1,000°F. Moisture-resistant vinyl-faced tapes prevent bubbling in humid climates, while mold-inhibiting variants with antimicrobial coatings are essential in healthcare facilities. Always match tape type to substrate movement potential: flexible meshes for older homes with settling, rigid papers for stable new construction.
Proper Drywall Joint Tape Installation: Embedding, Smoothing, and Curing Best Practices
The 1/16³ Embedding Rule: Why Depth Control Prevents Shrinkage Cracks
Embedding drywall joint tape at exactly 1/16³ (1.6 mm) creates optimal adhesion physics:
- Shallow embedding (<1/16³) starves the tape-seam interface, causing brittle bonds
- Excessive depth (>1/8³) creates thick mud layers prone to differential shrinkage
Industry studies show correct embedding reduces crack incidence by 70% versus uncontrolled applications. Achieve consistency using notched trowels or depth-guided knives. Maintain uniform pressure during embedding to eliminate air pockets that compromise bond integrity. This depth allows just enough compound to encapsulate fibers while minimizing shrinkage stress during the 24-hour curing window.
Tool Selection and Pressure Technique: How Blade Flex and Angle Affect Adhesion Integrity
Your smoothing blade‘s characteristics directly govern tape integrity:
| Tool Factor | Impact | Optimal Specification |
|---|---|---|
| Blade Flexibility | Stiff blades (6–8") fracture fresh tape; flexible blades (10–12") conform to contours | Medium-flex 10" knife |
| Application Angle | Steep angles (>45°) scrape compound; shallow angles (<15°) trap air | 15°–30° feathering angle |
| Pressure Profile | Inconsistent force creates thin spots and bubbles | Gradual center-to-edge pressure |
Apply compound with overlapping strokes using 70% of the blade width. Finish each pass with reduced pressure to feather edges. This technique achieves the required 0.002" adhesive thickness variance—critical for preventing stress cracks during humidity fluctuations above 55% RH.
Critical Application Zones: Inside Corners, Butt Joints, and High-Stress Areas
Inside Corner Tape Folding Precision: 45° Crease for Optimal Shear Resistance
A precise 45° fold in inside corner tape is critical for long-term performance. This angle evenly distributes stress across both wall planes, resisting delamination from temperature shifts and structural movement. To execute correctly:
- Align tape precisely along the corner seam before creasing
- Apply firm, even pressure with a 5" taping knife to embed without tearing
- Avoid over-saturating with compound to preserve fiber integrity
ASTM E736 testing confirms that sharp 45° folds deliver significantly higher shear resistance than rounded folds—which concentrate stress—and reduce corner failures by 61%.
Butt Joint Reinforcement Strategies to Eliminate Hairline Cracking
Butt joints lack recessed seams and are highly susceptible to movement-related fractures. Mitigate risk with these proven strategies:
-
Staggered Application
Apply paper tape as a base layer, then overlay with fiberglass mesh applied diagonally across the joint. This dual-layer system absorbs multidirectional stress. -
Feathering Technique
Extend joint compound 8–10 inches beyond the joint centerline using progressively wider knives (6" – 10" – 12"). This eliminates visible ridges and eases sanding. -
Extended Curing
Allow 72 hours between coats in high-humidity environments. Rushed drying increases shrinkage cracking.
According to the Building Diagnostics Institute, butt joints account for 89% of drywall failures—making proper reinforcement essential to eliminate stress concentration at these vulnerable points.
Avoiding and Fixing Common Drywall Joint Tape Failures
Even skilled installers encounter drywall joint tape failures—but early recognition and correction prevent costly rework. Bubbles and wrinkles typically form when tape isn’t fully embedded, leaving air pockets that weaken adhesion. To fix, slice the affected area lengthwise, inject fresh compound beneath using a 6" knife, then re-smooth under firm, even pressure. For peeling tape, remove all loose sections, scrape away old compound, and apply new tape with consistent pressure to eliminate voids. Cracking most often stems from insufficient drying time between coats or overly thick compound layers—research shows 70% of shrinkage cracks occur when individual layers exceed 1/16" depth. Remediate by widening cracks into V-grooves, applying fiberglass mesh tape, and building up with thin, sequential coats. Always allow full 24-hour drying cycles under moderate humidity conditions. Prevent recurring issues by:
- Cleaning dust and debris from surfaces before taping
- Using corner trowels to ensure crisp, accurate 90° folds
- Applying compound at a 15°–30° angle to force material beneath the tape
- Sanding between coats with 120-grit paper to remove ridges and ensure smooth transitions
Frequently Asked Questions (FAQ)
Q: What is the best type of tape for moist environments?
A: For moisture-prone areas, alkali-resistant fiberglass mesh is recommended to prevent degradation. Additionally, moisture-resistant vinyl-faced tapes can prevent bubbling in humid climates.
Q: How do I prevent drywall joint tape from bubbling?
A: Ensure that the tape is fully embedded to avoid air pockets, use consistent pressure during application, and make sure to let it dry completely between coats.
Q: Can I use paper tape in high-humidity areas?
A: It's not recommended since paper tape is prone to deterioration in moisture. Instead, opt for fiberglass mesh or moisture-resistant tapes in high-humidity zones.
Q: Why does drywall tape crack even after careful installation?
A: Cracking can result from insufficient drying time, overly thick compound layers, or environmental stress. Always follow best practices regarding drying times and proper application techniques to minimize cracking.